Wednesday, November 28, 2012

The Emergency Hug Quilt

A friend is going through a tough time healthwise at the moment, so I thought she might like a quilt (and to be honest, it was therapy for me making it for her).

The problem was that I really wanted to make this quilt quickly. Emergency hugs were required, and I wanted her to get those as soon as possible. Except I have this busy job and a busy life and did I mention the  flu that wiped me out for three weeks?

Emergency Hug quilt

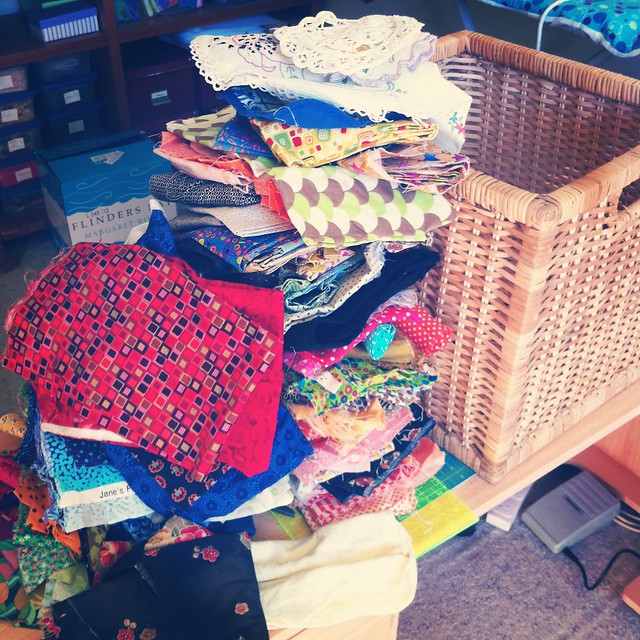
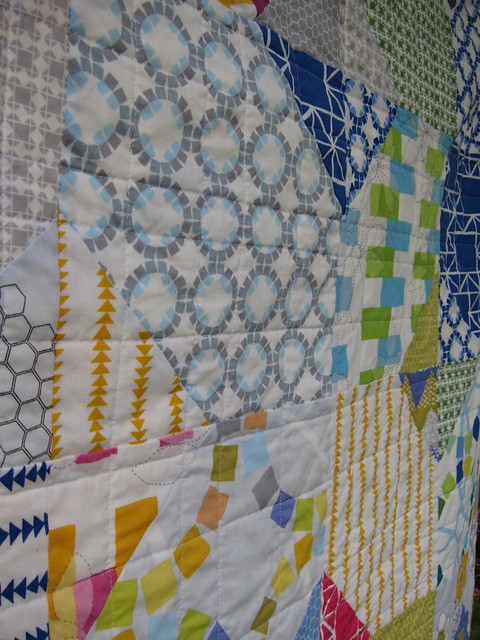
After choir last Thursday night I spent a little time selecting the perfect layer cake for Janice's quilt.

Emergency Hug quilt

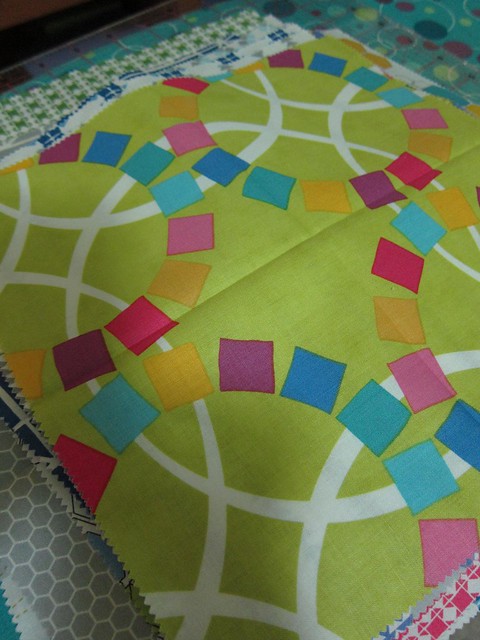
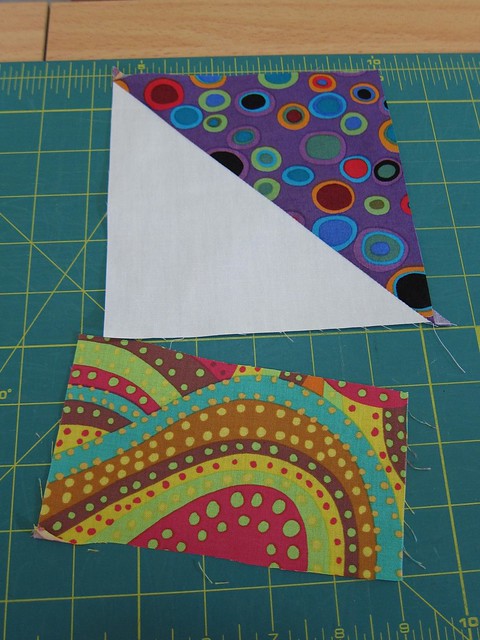
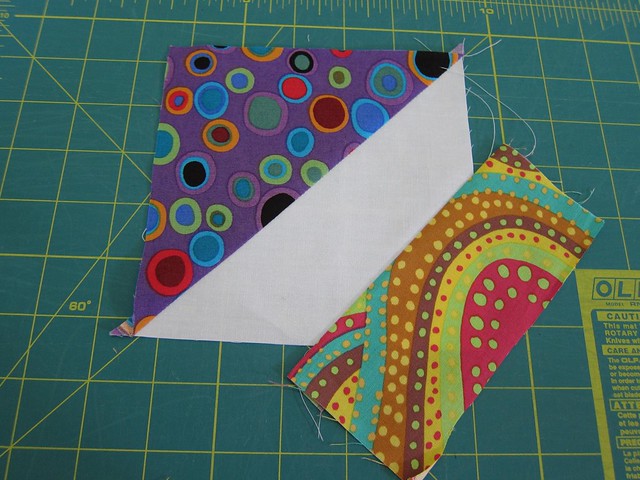
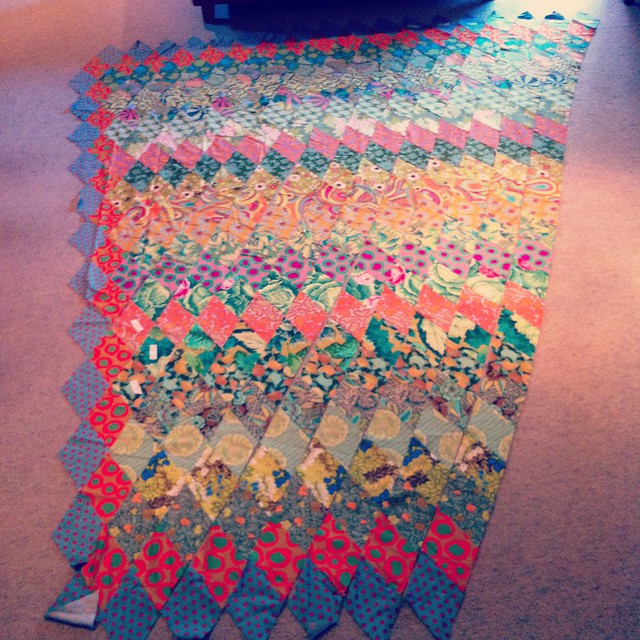
Just before bed I pressed the blocks into squares, as per the instructions in the pattern (which is Little Apples by Aneela Hoey, if you were wondering. It's a freebie and it uses every little bit of layer cake).

Emergency Hug quilt

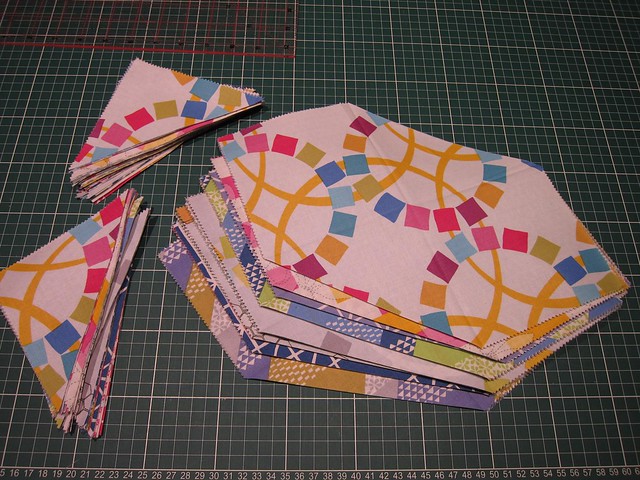
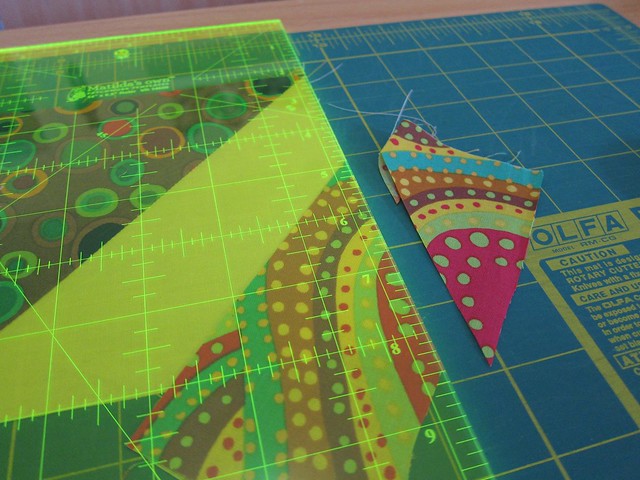
Friday night and all day Saturday were write-offs as far as quilting was concerned. But on Saturday night I finally had the time to work some more on the quilt. By 8.30 pm I had the blocks cut out.

Emergency Hug quilt

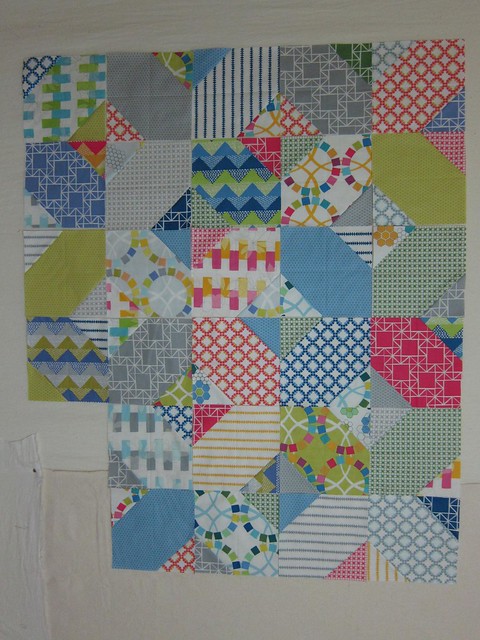
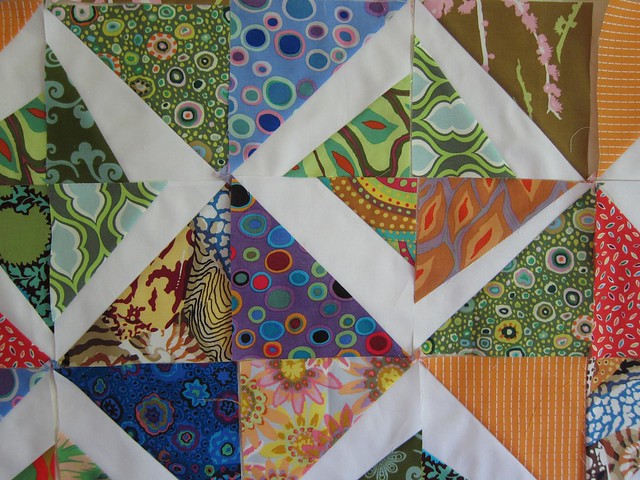
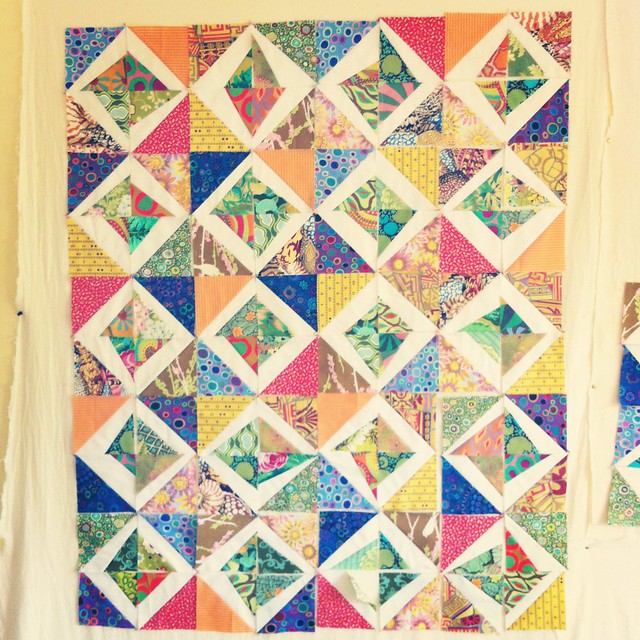
By 11.30 pm I had most of the blocks sewn and up on the design wall.

Emergency Hug quilt

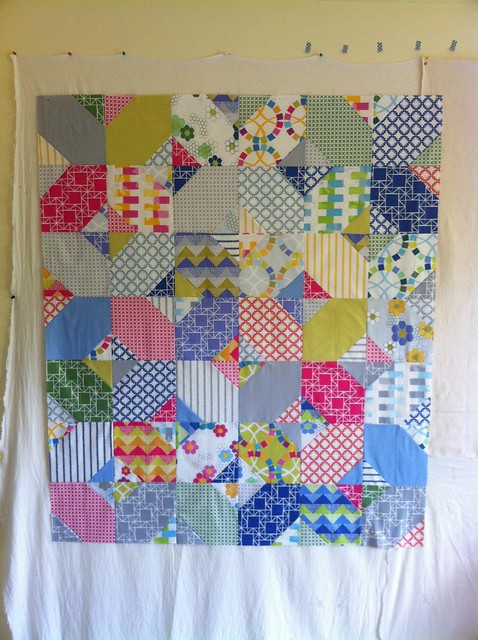
I had a busy Sunday morning, but when I got home towards lunch time I finished the rest of the blocks, and then positioned them on the design wall. This was what took the longest time. Then I sewed the quilt top together.

Emergency Hug quilt

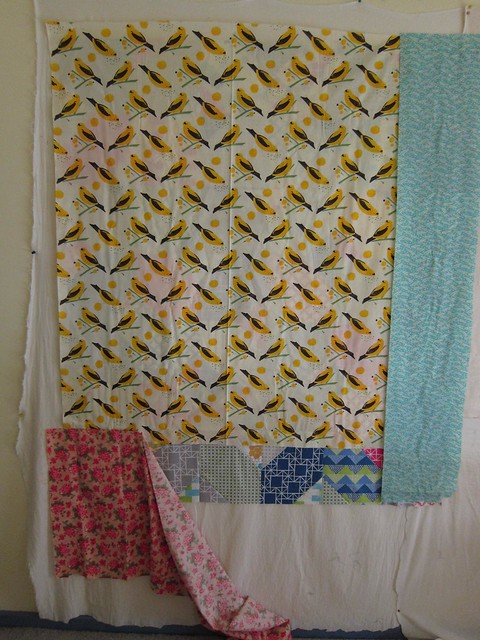
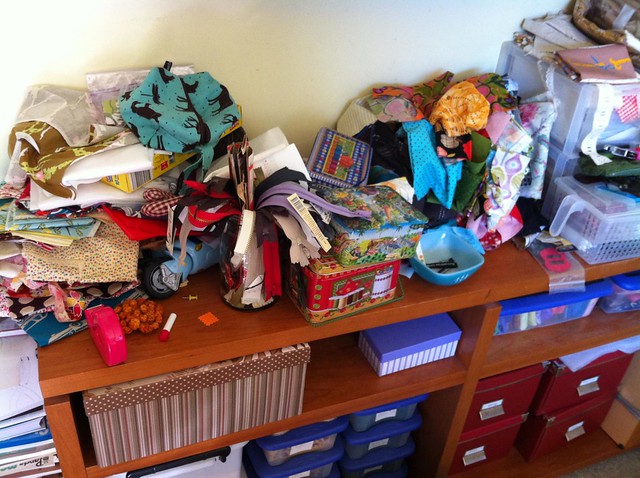
Then it was time to look through the stash for some fabric for the backing and head to the shop for the batting.

Monday night, very late, I pin basted the quilt.

By Tuesday another friend and I had made plans to visit Janice at lunch time the next day. I didn't think I could finish her quilt on time, and I certainly wasn't aiming to. I still had to quilt, bind, wash, dry and label it. I thought if I could finish quilting it on Tuesday night I could perhaps pop around on Friday after work and give it to her.

Emergency Hug quilt

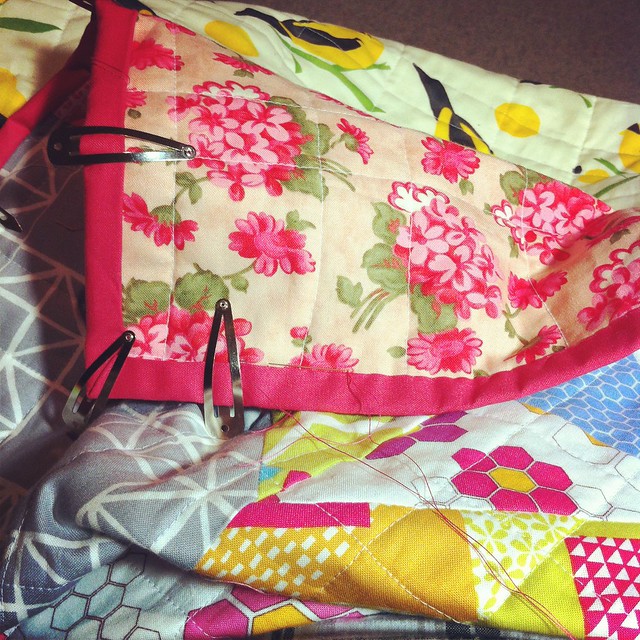
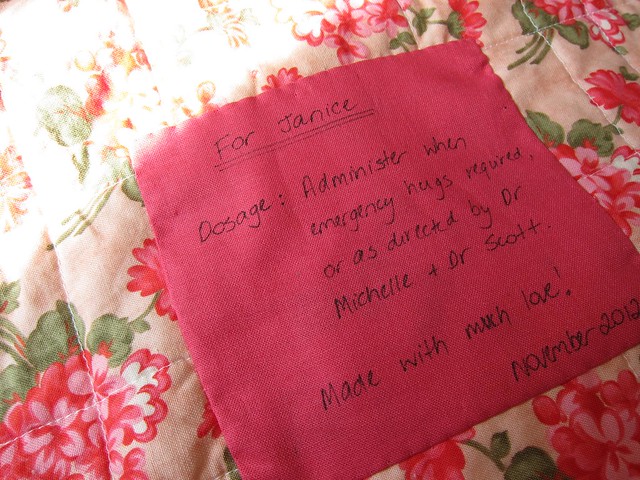
But by 11.15 pm on Tuesday night I'd finished not only quilting the quilt, but binding it as well. I popped it in the washing machine, and this morning I moved it to the dryer to dry, ironed it, and went to work with the quilt, a sewing kit and a label.

Emergency Hug quilt


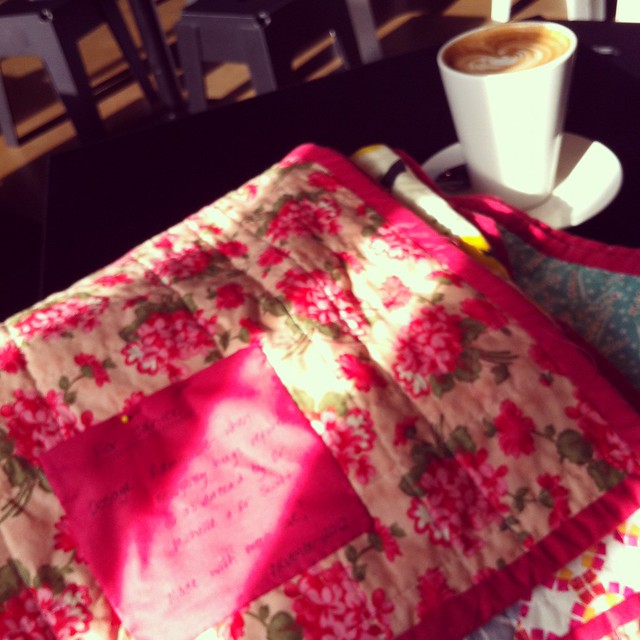
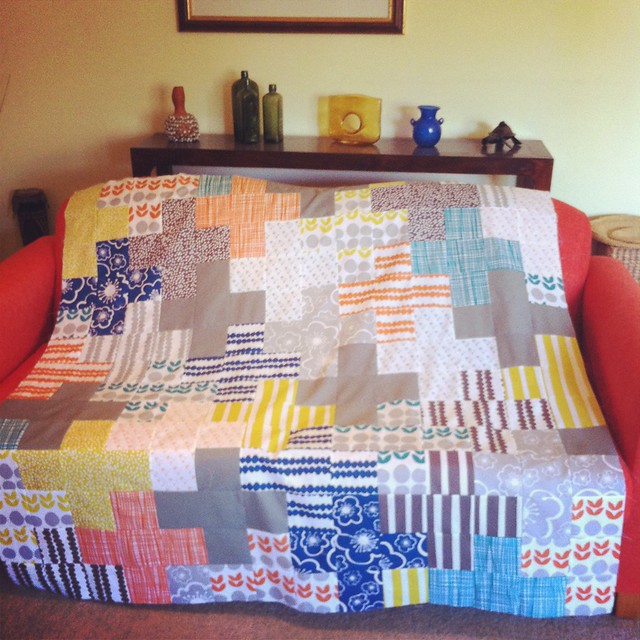
And then I sat in a cafe with a coffee and stitched that label on before work. And at lunchtime today I gave the quilt to my friend. She loved it. I tried not to cry. That quilt had so much love poured into it.

Emergency Hug quilt

I never once hated what I was making - I absolutely loved, loved, loved every second of the process. Even the pin basting. On my knees on the floor.

Emergency Hug quilt

There's a lot to be said for a quilt made with love. Time just speeds by.

Emergency Hug quilt

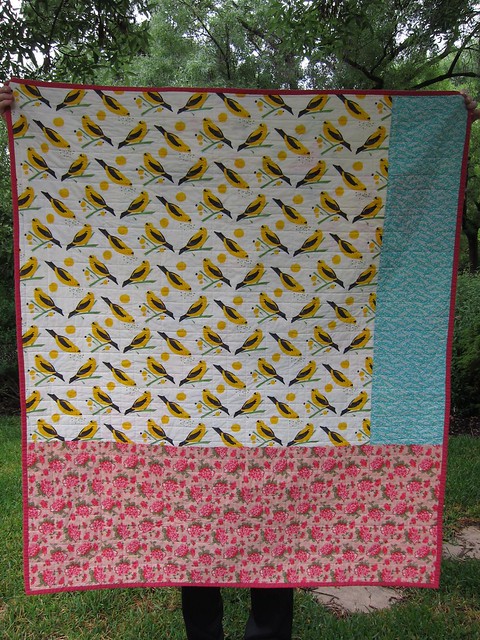
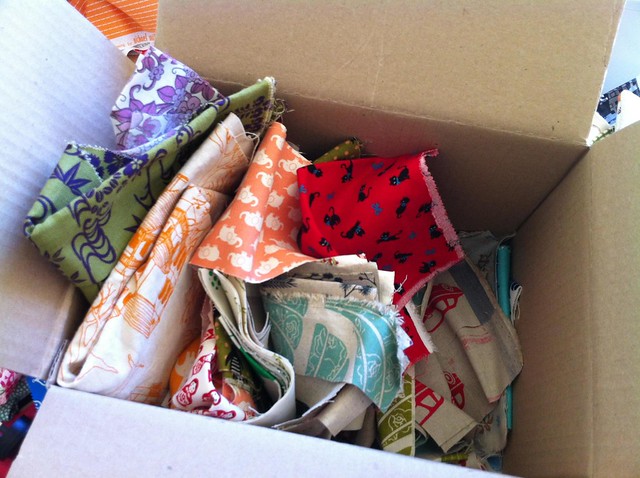
Every last bit of this quilt was made with stash fabrics, scraps or pre-cuts. I only bought the batting.

Emergency Hug quilt

I hope it makes Janice happy, and I hope it provides a little bit of healing as well.

Tuesday, November 20, 2012

Creative albatross

I have finished just two crocheted items this year.

Dentelle cowls

Both were crocheted in a couple of hours over a couple of nights back in May.

But I've been working on this one project since April (I thought it was begun in January, but my Ravelry page doesn't lie). And it's on my radar for Finishing Month.

Critron

I love it, but I'm over it. I was over it back in May. But I want to finish it before I start something new. It's like a creative albatross around my neck - a burden. A guilt.

I have some lovely yarns I want to start working with, including these.

Handmaiden Camelspin

Wollmeise - Jeton and Graf Ratz

Would love to talk more, but I gotta fly. I have another 20-odd rows until I'm finished, and the end of November looms.

Wednesday, November 14, 2012

Show and tell

In the last couple of weeks since I posted my Trade Winds and Stars pattern on Moda Bake Shop, two quilters have contacted me to tell me they have made the quilt. I cannot tell you how exciting this is. Firstly, because it's my first pattern ever, and secondly because the pattern as written didn't send them to the loony bin with the confusion it could have created (I worry about these things, late at night).

Deborah from Simply Miss Luella made her quilt using Anna Maria Horner Loulouthi fabric using 6 inch square instead of charms. I love this quilt so much! Especially the white border with the coloured binding.


Isn't it beautiful? So summery and fun. You can read more about Deborah's quilt here and here.

Anne Marie From Anne Marie's Quilt made her version of the quilt using three charm packs of Sweetwater Reunion. It is so different to my original pink version, and it goes to show that this pattern is good for any fabric you choose.


I can't stop looking at Ann Marie's quilt. It has a really lovely nautical feel, and see that inner border of bunting? I love that! You can read more about Anne Marie's quilt here and here.

Thanks to Deborah and Anne Marie for letting me know about their quilts, and for agreeing to let me use their photos. Best of all I've met two lovely women via email, and now have two new inspiring quilting blogs to read.

Sunday, November 11, 2012

Stitchy flippy HSTs - a little tutorial

A few people have asked me to show how we did the stitch and flip HSTs at quilt group which I mentioned in a previous post. So I thought I'd show you.

***Note for the Quilting Police - I am famous around these parts for breaking all the quilting rules and I have a note from my mother which lets me do this. So you can just all back off. Yes, you. I'm looking at you.***

I'm not going to show you how to do half square triangles (HST) because there are enough other tutorials on the web and we don't need another one. Personally I like making mine 8 at a time because it's fast, accurate and I live to trim off the dog ears (not really - you'll note in the photos below I haven't done that yet - later. When I trim the blocks down once and for all.)

Step 1.

Stitch and flip HSTs tutorial

Take a HST block and a scrap of fabric. Make sure the scrap is big enough for what you want to do with it. You can find out if it will be big enough by following step 2.

Step 2.

Stitch and flip HSTs tutorial

Put right sides together on the triangle side you want the wonky scrap to appear on. for my quilt, it's always on the white triangle. Visualise where you want the seam to go, and make sure the scrap is wide enough to allow the seam to go from end to end. If it doesn't fit, move the scrap around until it does. I don't bother with bias (gasp!) and the whole point of this stitch and flip business is to embrace the wonk. Angles, different directions, smaller sizes - it doesn't matter. Just do what you need to do to make it fit.

Step 3.

Stitch and flip HSTs tutorial

Roll the fabric back so you can be sure the fabric covers that bottom corner.

Step 4.

Stitch and flip HSTs tutorial

This part is important. When you are sure it's going to definitely fit, finger press the seam line.

Step 5.

Stitch and flip HSTs tutorial

Without upsetting the placement of the scrap, flip the scrap back so you can see the crease line. This is the line you are going to stitch on. Carefully pin to secure, or just carry carefully to the sewing machine. I'm clumsy, so I pin. Just one does the trick.

Step 6.

Stitch and flip HSTs tutorial

With the scrap side on top, stitch carefully along the crease line.

Step 7.

Stitch and flip HSTs tutorial

On a cutting board, and with the stitched scrap flipped back over to be upwards facing again, finger press the seam again. I usually trim those two layers from underneath with scissors, but in these photos I didn't. Everyone likes to do things their own way, and as I'm all about breaking the rules, I'll let you do whatever you like.

Step 8.

Stitch and flip HSTs tutorial

Get a ruler, line it up against your HST measurement (mine are 5.5 inch unfinished) and trim the scrappy section on both sides.

Step 9.

Stitch and flip HSTs tutorial

Admire your lovely trimmed block (except for those pesky dog ears which I will deal with later).

Step 10.

Stitch and flip HSTs tutorial

Add your new block to the design wall with its HST buddies.

So easy!

Friday, November 9, 2012

Scrap Management System required. Apply within.

The reorganisation of the sewing room continues, slowed down a sprained ankle (Good Lord I am a clumsy woman) and a bout of the flu. I'm also slowed down by my need to finish quilt tops - I had no idea these unfinished projects were taking up so much room and creating such a "junk" effect to every surface I had them stored on until I started finishing them. But once the tops are finished, I can fold them up onto a dedicated shelf of the Expedit ready for quilting. It's a pretty satisfying feeling.

First off I want to show you the projects that I wouldn't mind finishing by Christmas. They are BIG.

Planning the last bits of the Lotta Hexies quilt

I finished basting all the hexagons of my Lotta Jansdotter quilt, so all I had to do was sort out what went where, and which hexagons needed an accompanying grey diamond. I took a photo of the order so that I can have a record of what goes where.

Working out what else needs to be sewn on His Royal Kaffeness

I am embarrassed to tell you that I failed to follow my own ordering system when it came to arranging the rows for the this quilt. Well that's not entirely true - I followed some sort of system, I just can't identify what that system is exactly. It took me an hour to sort it out on the floor to this stage. This quilt does my head in because I can't comprehend sewing on the diagonal. Really. I probably have a couple of full days of piecing and pressing to go on this. Then I'm sending it to Raylee. I'm a little bit over it.

But now onto what I've finished the last week or so.

Arithmetic quilt top is finished!

The Arithmetic quilt top is finished. And I absolutely love it. Not just the fabric, which is Lotta Jansdotter's Bella line (interestingly the quality of fabric for this line is very thin compared to the Echo line before it) but those big plus signs really make me happy. I was going to give this one away, but it goes so well with my orange sofas I might just have to keep it.

The blocks for the wonky HSTs are done and ordered

And finally, all the blocks for my wonky scrappy HST quilt are made, sorted and ready for sewing. Sadly I never did get to sew it together or attend modern quilt group last night to show it off as planned, as I was too sick. So in the meantime I will just show everyone on the internet. I'm so happy with it.

I'm trying not to start anything new. However I would love to make a hug quilt for a friend that is having a bad time health wise at the moment. Out of stash, of course.

So back to the reorg of the sewing room. I have three wine boxes of fabric to sell at the trash and treasure.And I have three new lovely sorted shelves. This is one of them.

New shelf - the Kaffes, and the black and whites.

But I have a scrap management issue. I just don't know what to do with this.

Scrap Management System needed

Or this.

Scrap Management System needed

Or this.

Scrap Management System needed

And that's only one small part of it.

I was thinking of cutting out larger scraps into 3 inch hexagon shapes. Or one inch shapes. Or clamshells - I have a beautiful Brigitte Giblin pattern I bought ages ago that would be perfect for scraps. Or do I cut everything into 2.5 inch strips and sort by colour?

What would you suggest? I don't have the space for multiple clear plastic containers with odd shaped scraps of every colour under the rainbow - I would like to be able to have a system where I cut what I have leftover from projects and sort it out for later.

Would love to hear your suggestions!